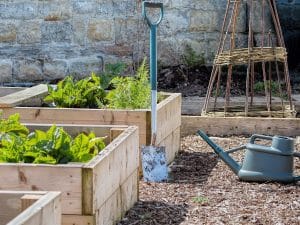
How to build raised beds
Learn how to build raised beds and watch your community garden blossom.
Building raised beds is a brilliant way to get your community garden started. They allow you to grow a wide range of plants, boost drainage, and introduce different soil types to your garden.
Raised beds also create inclusive gardens. Helping those with limited mobility, as they reduce the need to bend.
Plus, actually getting together to build them can be a great bonding (and potentially entertaining) exercise. But that depends on your DIY skills. Rest assured, building raised beds is a simple, but rewarding, task.
So, here’s what you’ll need:
- Timber (E.G softwood sleepers)
- A rubber mallet
- A small trowel
- An electric drill
- A spirit level + measuring tape
- Bricks, rubble, and mortar mix
Step One: Prepare the ground.
Remove existing vegetation as required. Then, dig out strips of turf for the timber to fit.
Step Two: Lay the timber.
Position the timber to create a square or rectangle, whatever size you like. Use the spirit level to check everything’s…level.
Step Three: Measure up!
Measure diagonally and lengthways to ensure the corners are right angles.
Step Four: Grab the mallet.
Use the rubber mallet to tap the wood, so that the adjacent pieces are level and sturdy.
Step Five: Drill and screw.
Drill through the tops and bottoms of the ends of the timber. Screw them into position, ready for the next level to be added.
Step Six: Assemble the timber.
Assemble the next level of timbers and overlap the joints, to help with the strength of the structure. Double-check with your spirit level before screwing into place.
Step Seven: Add drainage.
Add rubble or chippings to the bottom of the bed to aid drainage. Then fill the raised bed with topsoil and compost.
Step Eight: Get growing!
It’s time to get growing! But first, stick the kettle on and get chatting with the others involved. After all, you need to choose what you want to grow!


