How to make leaf mould
Autumn is now upon us. The season when the foliage on many deciduous trees starts to turn delicious shades of yellow, orange and red. Then, they daintily fall to the ground.
It’s traditional to sweep up those leaves in the garden and put them in the recycling bins but think again!
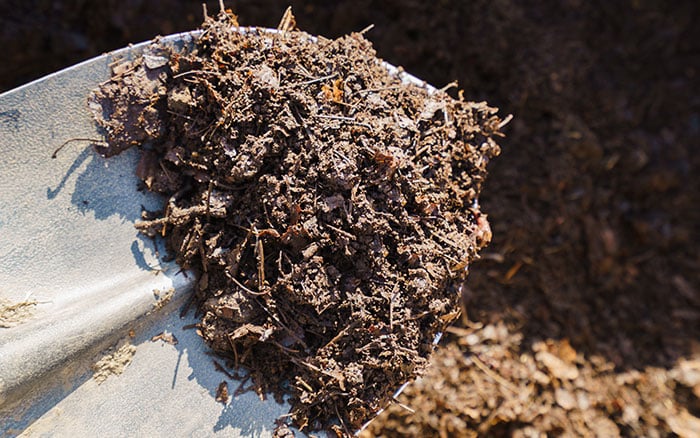
Did you know that mixed deciduous fallen foliage when stored over winter produces an amazing product known as leaf mould? Or, as some people call it, ‘gardeners' gold’. That’s because the leaves break down to a fine crumbly texture that’s ideal as seed compost when sieved. If un-sieved it is a wonderful mulch for flower and veg beds.
So why not make producing leaf mould part of an autumn community garden day?

Why make leaf mould?
Making leaf mould is simplicity itself and an ideal communal activity. Simply rake up leaves from pathways and grassed areas, ideally when they’re wet. However, leave the ones that have fallen onto flower beds. This is because many plants rely on the warmth given to them over winter by that covering of leaves.
Amazingly worms will gradually take the leaves down into the soil between now and spring. Which in turn will help condition the soil as the leaves break down. It is quite a magical process.
Depending on your space available, you can store them in one of the following ways:
How to make leaf mould in a small garden
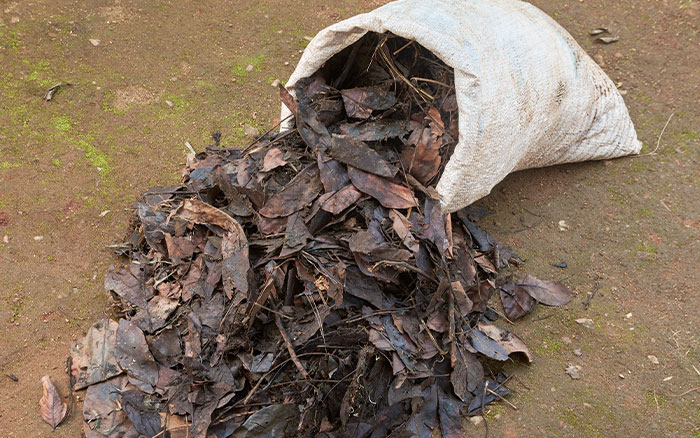
Place the leaves in empty compost bags with the tops folded over. Next, punch a few holes in the sides of the bags and place them in an area that’s not used. And that’s it! Just leave them there until the following autumn. By this time, the leaves should have turned into a fantastic free soil conditioner, seed compost and/or mulch.
If the leaves are dry when you place them in the bags, shower them with water from a watering can. Then fold the tops over, but don’t overdo the water.
How to make leaf mould in a large garden
You have a couple of options for making leaf mould in a large garden.
One is to just pile them up in a big heap and leave them open to the elements. However, do so in an area protected from the wind. Because the top layer may blow away, especially if it becomes dry. You’ll find that the bottom layers will turn into leaf mould or ‘gardeners' gold’ much sooner than the top layers. But the magic of decomposition will continue to work all through the following twelve months.
If you have chicken wire available use this to make a basic four-sided enclosure into which to place the leaves. Weave stout sticks through the corners of the chicken wire and push the stake ends into the ground.
Or you can make a storage enclosure with four pallets cable-tied together at the sides. Place the leaves inside but uncovered as the leaves decompose faster when moist.
A bonus to these leaf mould methods is that you will be providing the ideal home for wildlife such as hibernating hedgehogs.

Top tip for using leaf mould
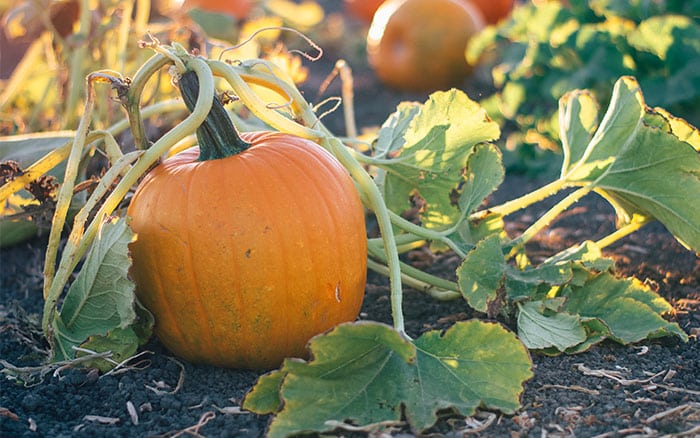
Why not experiment and grow pumpkins in the leaf mould next summer? Place fully grown plants in the leaf pile rather than seedlings. The leaves will initially turn yellow. But once the plants have settled in, they should grow away and produce bountiful crops for you all to enjoy next summer and autumn.
Plus, visitors will be amazed when you show them how simple it is. Then, hopefully, they will also be inspired to save their leaves next year.
Send us your pics!
We’d love to see pics of your leaf mould piles and what you do with the leaves once they’ve broken down.
Drop us an email at [email protected] with your leaf mould progress pictures! Or leave a comment below about success stories you’ve had with leaf mould in your community gardens or school gardens.

